I hope you are having fun! I would love to hear from you or see what you are doing if you work on this project!
Day 3
Day Three
We are going to continue our metal embossing today. Today is going to be a tough day. Depending on how much you stamp, there could be a lot of tracing and refining. If you need to, take breaks. Your wrists and hands will thank you for it.
For today, you’ll need to dig out…
- Your aluminum piece from yesterday.
- Stamps, any of your favorite images will work. Don’t use ones with words for your first design.
- Staz On or Archival Ink, any color is fine although a dark color is best.
- Paper Stump - or popsicle stick
- Refiner tool – or empty ball point pen
- Ball and Cup tool – or medium sized stylus
- Thin Mat - or mouse pad
- Acrylic Mat - or glass cutting mat
- Small Wheel Tool – I use the ones by Ten Seconds Studio but Merc Art makes some and there are even some that quilters use. This past Halloween we bought a pumpkin carving set and it had a wheel tool in it that will work too!
- Lightweight Spackle
Choose your stamp set and let’s start inking…
REMEMBER! When stamping on metal, use only a hard surface under your metal.
Choose the placement of your stamps and on the back of the metal, with just the acrylic (smooth cutting mat) underneath your metal, stamp your images. I used Staz On ink for this.
Complete your design. If you make a mistake or decide that you put in one too many trees or snowflakes, no worries! You can either ignore it or you can ‘erase it’ with a little blending solution or rubbing alcohol on a paper towel. Remember this is all done on the BACK of the metal. You won’t see this part in the end.
On the thin mat (mouse pad) with the refiner (ball point pen), place the waxed paper over the stamped on metal (this is optional) and trace the stamped lines. Be careful with close lines; remember you don’t want to ‘blur’ the lines. If you can leave out some lines on your image and keep the basic design, I would recommend for your first try. You can always add more detail in later if needed.
Once you have completely traced all of the stamped images, flip over your metal and place on just the acrylic mat (smooth cutting mat) and refine all your edges. This might take a while. Be patient!
If you have some areas that have a lot of details, such as the trees in the above photo, consider just tracing the outside lines. The when you are on the front of the metal refining, add in some squiggly lines. The lines will be slightly debossed in to the metal, but it’ll add a little bit of texture to your design.
On the acrylic mat (smooth cutting mat), take your paper stump (or popsicle stick) and on the front of the metal flatten any areas that are slightly puffy. You’ll add some dimension to just the area you want after this step.
On the back of the metal, place a thin mat (mouse pad) under the metal and select a few areas to ‘puff’ the metal. You’re just going to rub over a small area and stretch the metal outward.
Above is a photo of the ‘puffed’ area. You can see it’s slightly raised from the other metal surrounding it.
Let’s add a little bit more detail to your work. If you own a wheel tool, run the tool over the metal with the thin mat (mouse pad) under the metal. I did this on the front side of the metal. In my design, I only ran the wheel on the bottom – to look like a road, but feel free to use as you need for your own design.
Now we need to protect our embossed design from being flattened by normal use.
I use a cheap Lightweight Spackle and an old gift card.
It might take a little bit of scraping but slather on your spackle and then scrape off any extra. It's easiest to remove any spackle that's onyour gift card before cleaning up the metal. Spackle likes to attach itself to itself so if your gift card is scraped it will work better.
When you are done, you should see mostly metal but you need to make sure that the puffed areas are mostly filled in. The piece above is still not completely done. You should make sure that any excess spackle is removed - even if you use your fingers to do it. The better your spackling job on the back, the better the finished piece will look!
Let the spackle dry completely. Tomorrow we will finish up with some painting!


 Run your piece of metal through the Cuttlebug, using an embossing folder.

 Flip the metal over and spackle the back. Remember, spackle likes to attach to itself, so slather on a good amount, then wipe off the plastic scraper so you don't continue to 'pick up' more spackle with the spackle on the plastic scraper.
 Smooth it out and clean up the spackle. It takes some practice but if you have a flexible enough scraper and some smooth spackle (always cover when not in use), you can achieve a perfect spackle job. What you want is to be able to see the image clearly. Just like above.
 Here's the key ingredient. Colorwash. Or glimmer Mist. Or Memory Mist or any other kind of spray mist you can spray. The reason behind the spray is two-fold. One, it's not going to rewet the spackle too much. And two, you're not rubbing the spackle.
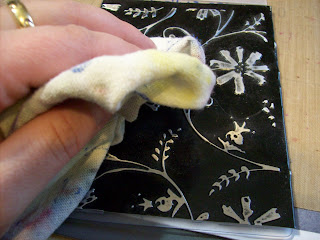
 Then with a cloth, wipe the colorwash off in a horizontal motion. Almost the same way you'd sand the metal, you want to remove the colorwash. You'll notice a few things happen. One, if you had any spackle on the metal that wasn't in the design, the colorwash will wet it enough that it's removed pretty easily. And, if you wipe cleanly you'll see that it creates a pretty mirror like finish. Now, remember! Do NOT wipe hard. Gently remove the excess colorwash. The spackle will be slightly damp and you could easily put a dent into it or pop it out if you are too rough with it. But if done correctly, you can easily achieve this next look...
 Nice, huh!
  Add some Humungo (or red line) adhesive. The beauty of this adhesive is that it's crystal clear! So not only is it the stickiest stuff on earth, it's clear as well so you can use this technique and see the beautiful coloring job you did underneath!
 Here you can see I've attached the piece to a piece of a Maya Road Sheer Album. The Sheer Album has a slight color to it, so it's obvious to say it's not as vibrant and as mirror like as it would be if you used it on a clear acrylic album but for the project I've created, this is the look I'm aiming for.
 This is a top to the box I created
  By the way, all these designs were using the new Kabukas from Ten Seconds Studio.
 I cut my metal using a regular paper trimmer, then I used a
 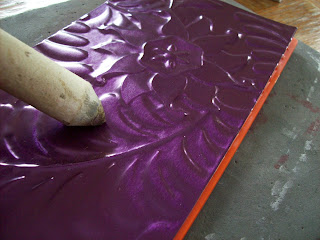 Then refine, if you'd like:
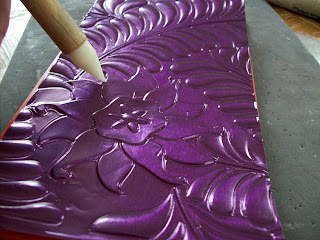 Sanding is optional for this technique too...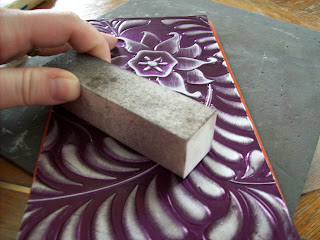
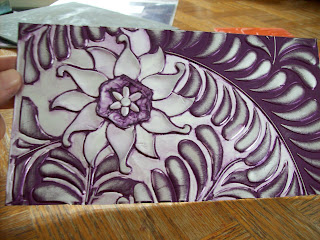
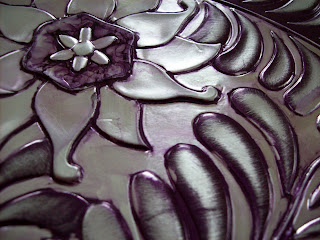
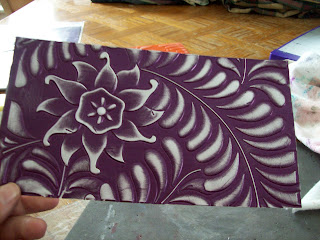 Very nice. But let's add a little more contrast, huh?!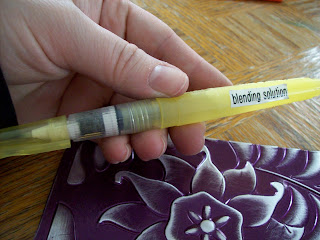
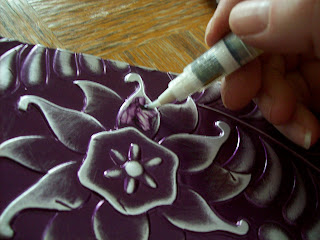
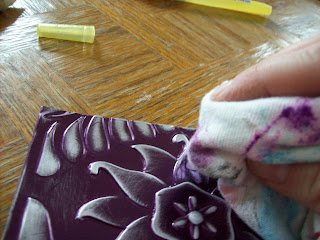 And Viola!
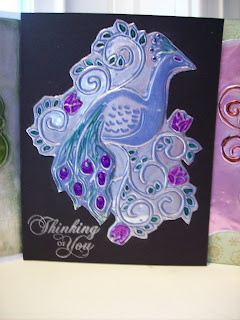
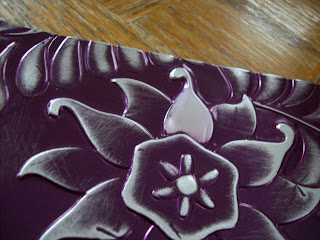 Now, just think about the possibilities...
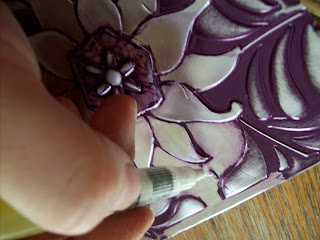
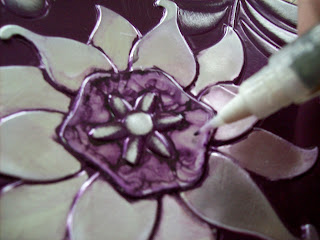 Remember, if your H2O pen gets colorful, run it off on the paper towel to clean it. The H2O pen is nice because it's got a nice thin point to get into some of the smaller areas.