Here's day two of the Holiday Card Keeper:
Today we are going to get started on our metal embossing! For today, you’ll need to dig out…
Your aluminum metal. This can be a piece of 36-40 gauge metal from Amaco, Merc Art, Ten Seconds Studio or you can even use a disposable top to an aluminum party pan.
Tracing paper or words printed backwards.
Paper Stump - or popsicle stick
Ball and Cup tool – or medium sized stylus
Thin Mat - or mouse pad
Acrylic Mat - or glass cutting mat
Here’s a few photos for reference…


After I cut my piece of metal to the size that I wanted it, I decided on how big I wanted the words on the top of my box.
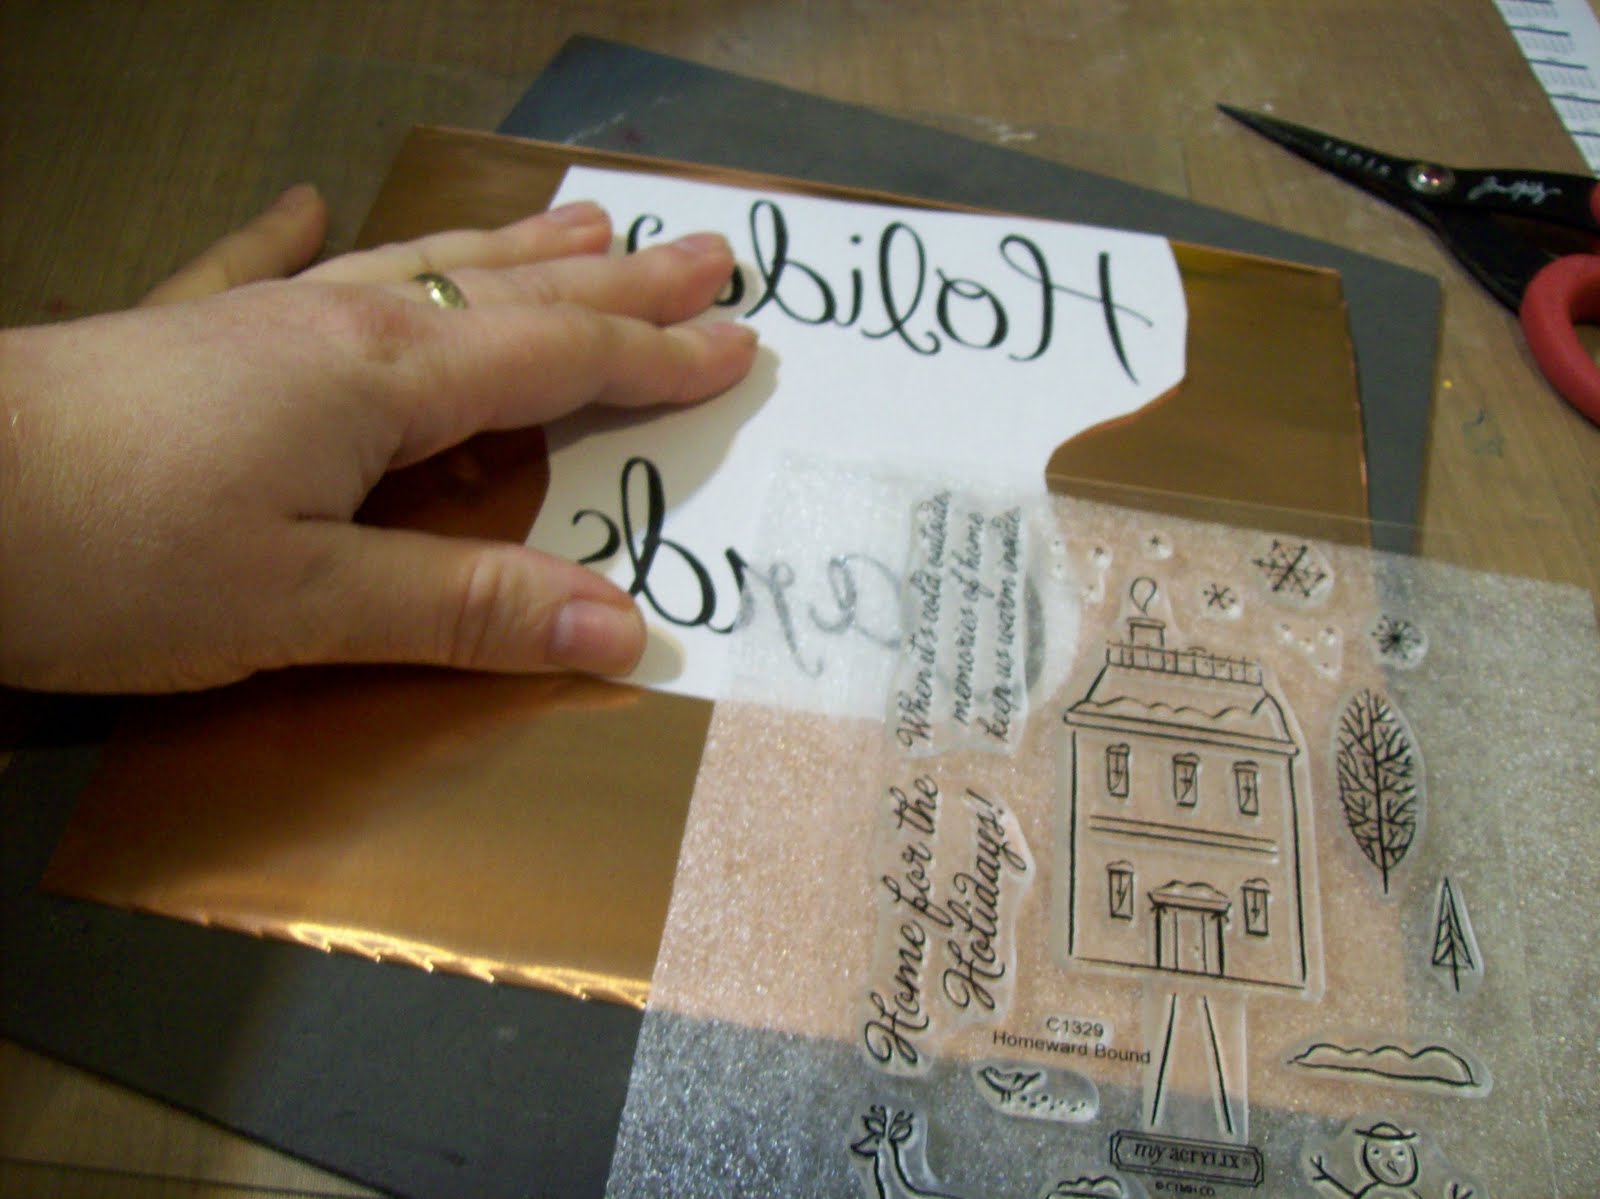
I printed the words backwards (usually this is in your printer settings – it could be listed as reverse print or T-shirt transfer printing). I cut the words out roughly just so I could exact my placement on the piece of metal. The picture above shows the backside of the metal. I chose to use a piece of the art metal by Ten Seconds Studio so that you could see when I was working on the back (copper color) and when I was working on the front (aluminum color).
I checked the size of the words based on the size of my stamps. I knew that this font was the right size when I saw how the house was going to look on the metal.

TIP!! Use a piece of wax paper and rub it over your printed paper to allow your stylus to glide smoothly!

Now that you have traced the words onto your metal, leave the paper on while to refine the area. You don’t want to find out as you are refining that you missed a spot and then can’t line up the paper again. So, with that said…
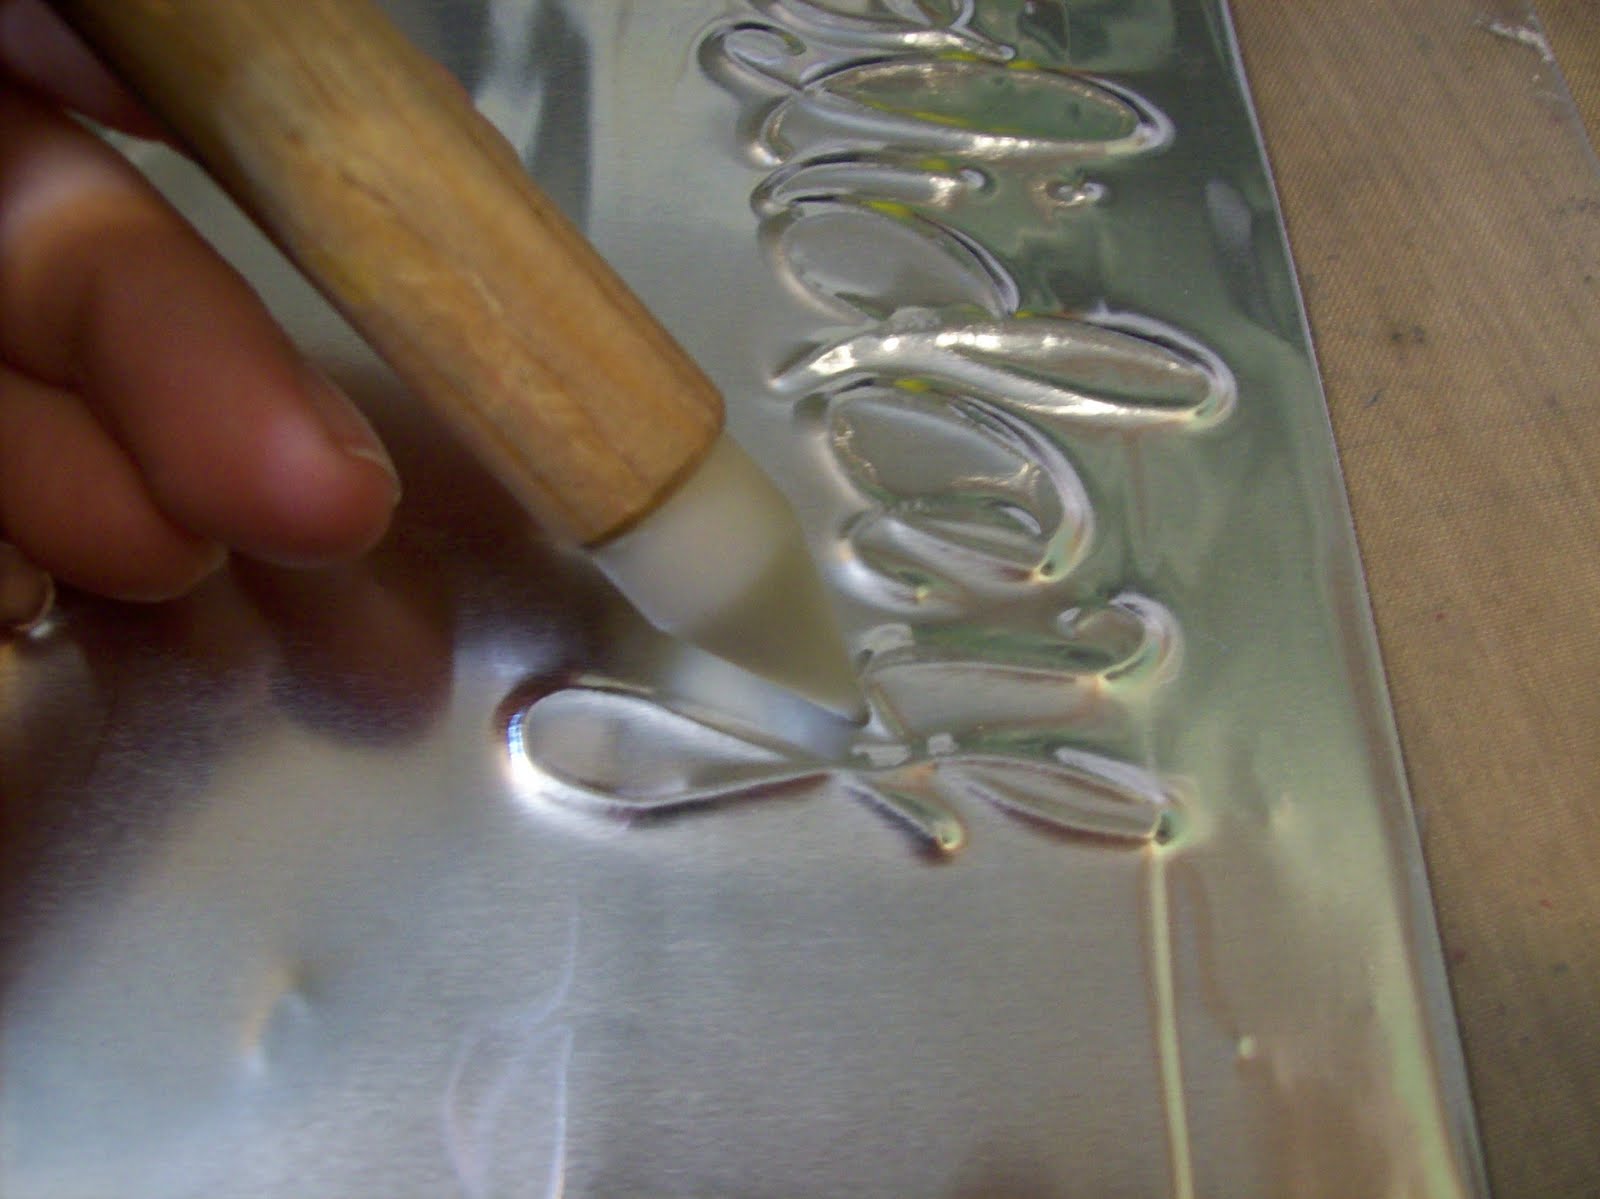
TIP!! If you accidentally push in the line you’ve drawn, just flip the metal over, put down the thin mat (mouse pad) and go over the flattened line again with the round tipped tool (stylus). You really can’t make a mistake!!
 Front View
 Back View
Above are two images. The top one is what it looks like when you’ve completed refined all your edges. The bottom one is the back side of the metal. You can see a definite letter embossed into the metal.
Place your piece of metal in a safe spot. Tomorrow we’re going to add some stamping into our design.


No comments:
Post a Comment