Here are the supplies you'll need...
 I cut my metal using a regular paper trimmer, then I used a paper stump, the large refiner, Kabuka Number 1, Acrylic Mat and thin Mat, Plum Metal, Sanding Block, Inky Binky (or paper towels) and an H2O pen filled with Ranger's Blending Solution.
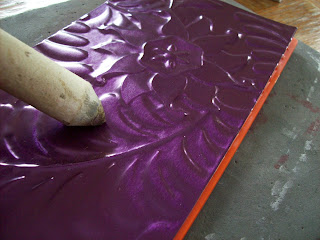
Rub the design of the Kabuka out on the metal using the paper stump...
 Then refine, if you'd like:
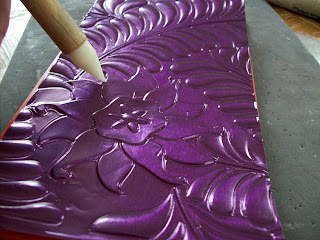 Sanding is optional for this technique too...
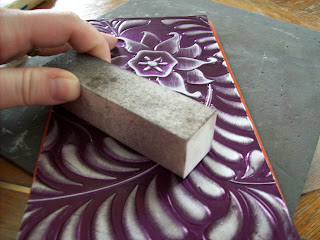
So this is what it looks like before the actual technique...
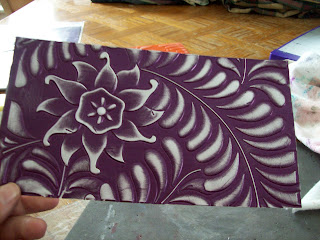 Very nice. But let's add a little more contrast, huh?!
Grab your H2O Brush Pen and add blending solution. If you add Blending Solution to a pen, be sure to clearly mark it that way. You won't be able to use it for water again, small quantities of blending solution will always remain in the pen.
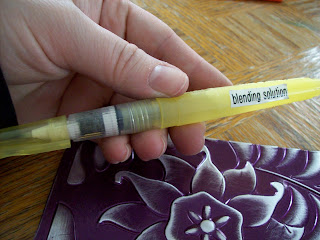
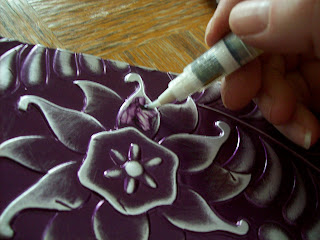
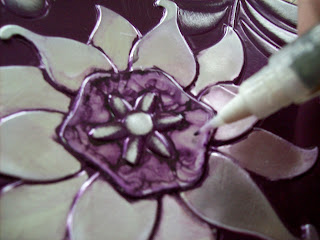
OK, here's the Ten Second Technique! Once you get the blending solution running in the pen (just squeeze it), rub it over a colored portion of the metal...
Then rub the area with the Inky Binky (or paper towel)...
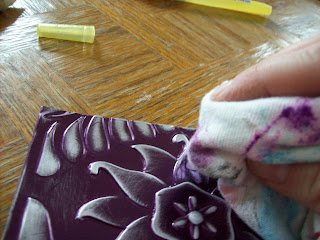 And Viola!
Take a look, it comes right off!
 Now, just think about the possibilities...
You can get into those recessed areas or even create a nice smooth mirror-like finish. You can even take some of the color, swirl it around and let it dry. This creates a nice patterned look!
 Remember, if your H2O pen gets colorful, run it off on the paper towel to clean it. The H2O pen is nice because it's got a nice thin point to get into some of the smaller areas.
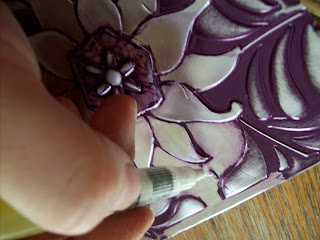
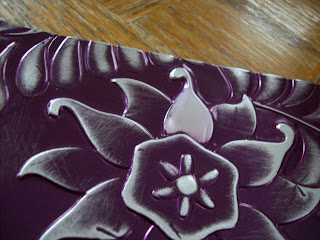
So here's a look at the project after the technique...

And a closer look...
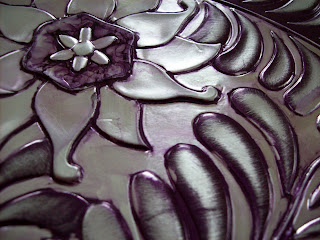
Isn't that nice! A nice glossy finish with a hint of color and some shading created by the original sanding.
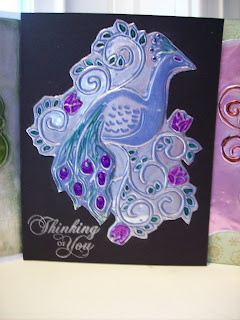
Now, take a look at this card I created for an upcoming class... Can you see where I used this technique?
So, if you try it, I'd love to see what you came up with. Don't worry, it'll only take you 10 Seconds!
So, if you try it, I'd love to see what you came up with. Don't worry, it'll only take you 10 Seconds!


6 comments:
Kim, great tutorial. I hope to try this tonight....wait, I don't have ranger blending solution, just chartpak blending marker. Do you think this will work as well?
Next we need to get you to make a video using your still pictures....then the tutorials will be really cool!
See you on Friday to make the mailbox!
It could work, you'll have to let me know. I don't own any other blending pens. But knowing the basics of the technique, I bet it works!
If I could figure out my PhotoShop Elements, I might be able to cut out a video one of these days!
Thanks for taking a peek! See you Friday night!
Hey Kim
I loved this when we did it in class. Paul also thought it was just the bomb. This is just so amazing. Can't wait to feel better to play some more with this one!
Great tutorial!
D
Well ain't you just sumpin!?!?! That technique is beautiful!!!
Great tutorial. And what a treat to see them on taco tuesday!!
hehe Your a star!
Wow, that is so beautiful! And a tutorial to share how you did it ... very delightful!!!
Post a Comment